What could be more fun than buying home decor? Doing it yourself. There is something satisfying about completing a project that betters your nest. Put a personal touch in your home decor with these easy do it yourself projects.
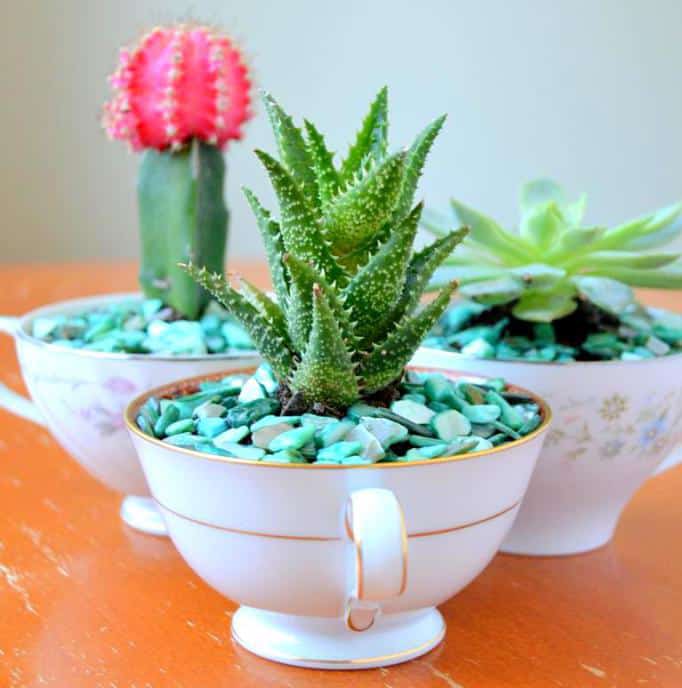
Teacup Planters
March is a great time to start practicing your green thumb. These adorable small succulent planters are sure to brighten up your space.
Supplies:
Teacups (you can find these
for cheap at thrift stores or a dollar store)
Cacti or succulents
Small pebbles or stones
Cactus soil
Directions:
Arrange your cacti or succulent in the teacup as you see fit. Fill the cup about ¾ of the way with the cactus soil. Place the pebbles or stones on top of the soil to completely cover any visible dirt. Water 1 to 2 times a week.
—Submitted by Fry-Wagner
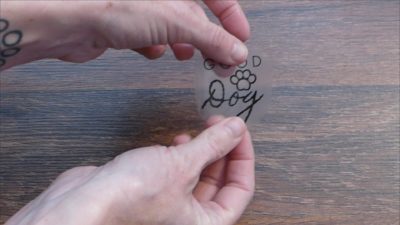
Make Anything a Label or Sticker
Typical label makers are as boring as you can get. So if you’re looking for a fun way to get organize for spring, try this instead.
Supplies:
Computer
Printer
Paper
Clear shipping tape
Scissors
Glass with water
Spoon (or other hard implement)
Directions:
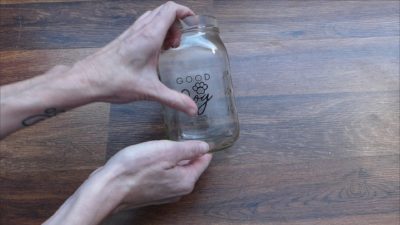
First, create (or find) your label or sticker design and print it out. Black and white or color, it works either way. Next, fully cover the printed design with shipping tape. If the design will fit within the width of the tape, great. If not, carefully line up the edges of the tape so they don’t overlap. Use a spoon or other hard implement to rub over the top of the tape. Pressure is the key here, if you want the toner to transfer from the paper to the tape, push down hard and scratch back and forth along every bit of your design. Use the scissors to cut the design out into the exact shape and size of the label. Place your label-to-be in a mug or glass of water so that it’s fully submerged and let it soak. Leave it alone for hours before it is ready.
Using your thumb, carefully roll the paper off the back of the tape. You’ll get most of it off but keep going over any spots with remaining paper. Re-wet the tape if it starts drying. Continue until there are no more paper fibers and only the toner remains. Turn the tape sticky side up and allow the dry. As it dries, the stickiness comes back. Press your label firmly onto your item and work out any air bubbles underneath.
—Submitted by Vicki Liston, host on HomeTalk TV and “On TheFly…DIY”
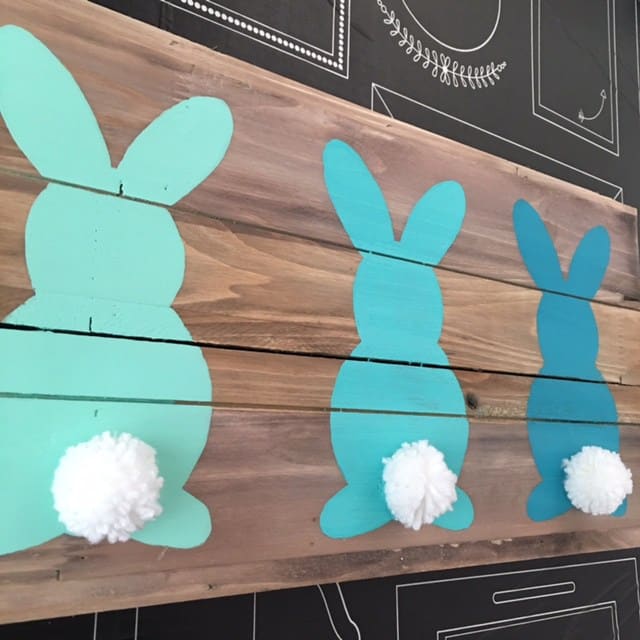
Ombre Bunny Art
Bunnies are one of the most common creatures to represent the spring season. This cute little art board can even be displayed at your Easter gathering.
Supplies:
12 x 30 wood board (you can find these at your nearest hobby store)
White Pom Poms
Watercolor pencil (color of your choice)
Hot glue gun
Bunny template (Google your favorite one)
Acrylic paints of your choice. To complete the ombre look you will need three different shades of a similar color.
Directions:
Using your watercolor pencil, trace your stencil onto the wooden board. Fill in the bunnies with the acrylic paint and let dry. Using your hot glue gun, glue the white pom poms on the bums of all the bunnies and let dry.
—Submitted by Fry-Wagner