Easy projects to perk up your home this spring
After a winter full of white and gray, it’s time to ring in spring with pops of pigment. Brighten your decor—and your mood—with these fun DIY projects. Whether or not you have crafting experience, these simple projects are perfect for adding a springy touch to any room.

Paper Straw Wreath
Pinterest lovers know that paper straws are trending this year. For a quick project with big impact, hot glue decorative paper straws around a cardboard circle form. Add a pretty ribbon bow or a flower accessory and hang this cheerful ray of sunshine above your desk.
For detailed instructions on how to make the above wreath, featuring Party Stripes Paper Straws by Kikkerland, visit www.papersource.com/blog/diy/how-to-paper-straw-wreath.
![]()
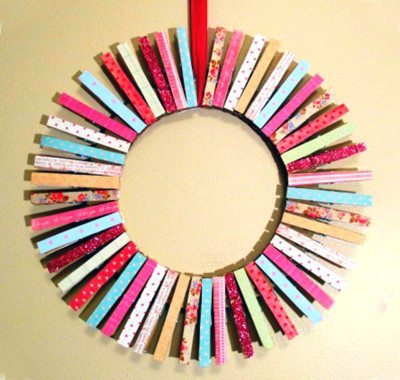 Clothespin Wreath

Blogger Sabrina Singer-Towns uses everyday objects in alternative ways to change up her decor each season. Wooden clothespins, available at most big-box and home-improvement stores, arranged in a circle make an eclectic wreath and are easily customized to your tastes.
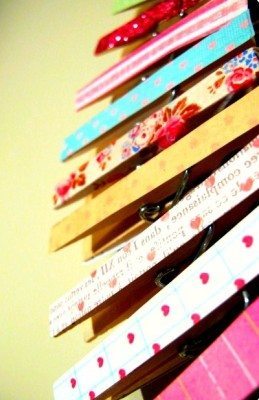
Singer-Towns’ used scrapbook papers, decorative tape (also known as washi tape) and glitter to decorate her wreath.
“I attached my paper strips to the clothespins using clear glue, but you could also use Mod Podge,” she says.
 After decorating, glue the clothespins to a heavy cardboard circle, which you can cut out yourself or buy premade. The number of clothespins required will depend on the size of the circle form. “The bigger the circle, the more clothespins you will need,” says Singer-Towns. Plan to use between 50 and 80 clothespins.
For a different look, try gluing strips of fabric or ribbon to the clothespins, or painting them with acrylic paint. To personalize this project, use the clothespins to hold photographs or greeting cards.
Tie a ribbon to the wreath and hang your new creation on the wall to brighten up your space.
For complete instructions and more photos, visit www.superfluouslysabro.blogspot.com /2012/01/valentines-clothespin-wreath.html.
![]()
 Yarn-Wrapped Vases
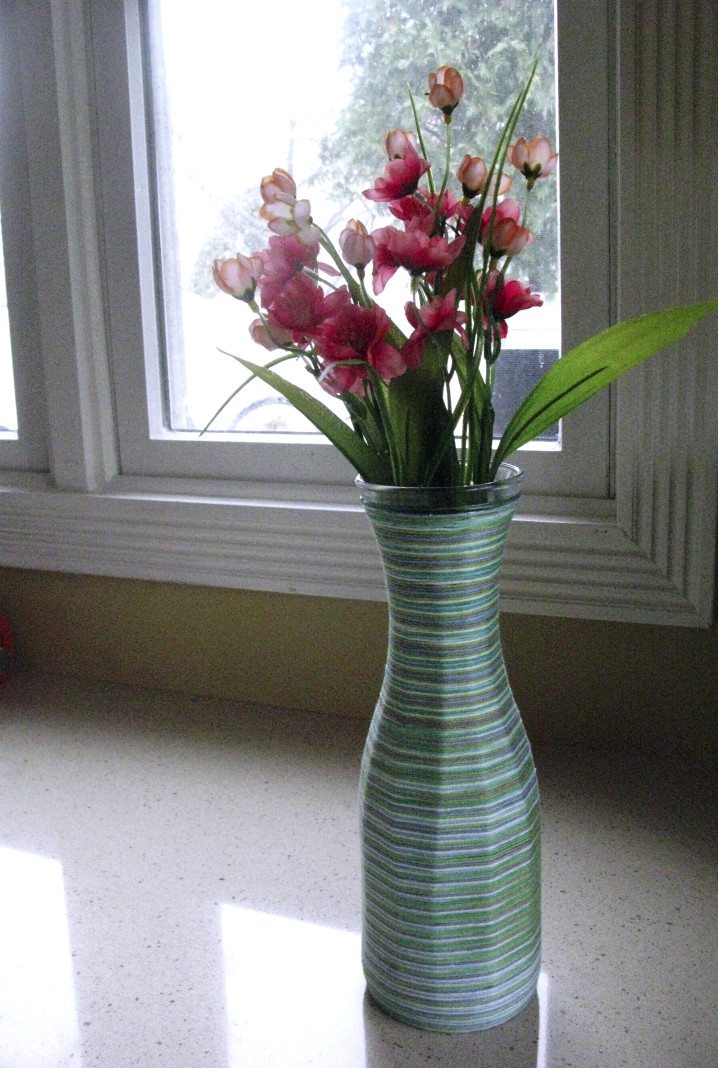
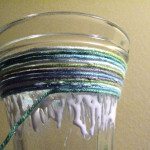
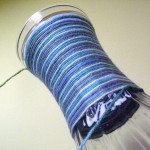
Yarn is a simple and elegant way to add color to any room. Available in endless colors and textures, you can choose the one that’s perfect for you. Variegated yarn will result in stripes or will form fluid pools of color.
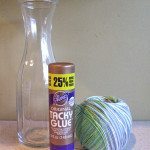
For this project, you’ll need a glass vase, an all-purpose glue, such as Aleene’s Original Tacky Glue, and a ball of yarn. Here, we’ve used Premier Yarns Cotton Fair in color 32-04 Cloud Gazing, a cotton-acrylic blend available at Michaels. Your local knitting store will likely be filled with an enormous selection of beautiful yarns and IKEA offers a variety of glass vases and containers.
Start by adding a ring of glue around the rim, adhere the yarn, then begin rotating the vase.
As you wrap, use your fingers to gently push the strands of yarn together and eliminate gaps. Add glue no more than 1 inch at a time so it doesn’t dry. When you reach the bottom, clip the yarn and secure down the end with a drop of glue.
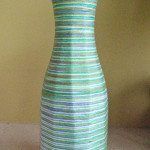
Make a small grouping or strew the vases throughout your home. Be sure to fill them with flowers—the ultimate sign of spring.
For a more rustic look, wrap your vases in twine or hemp cord. Also consider wrapping flower pots for indoor or outdoor use.
 Painted Branches
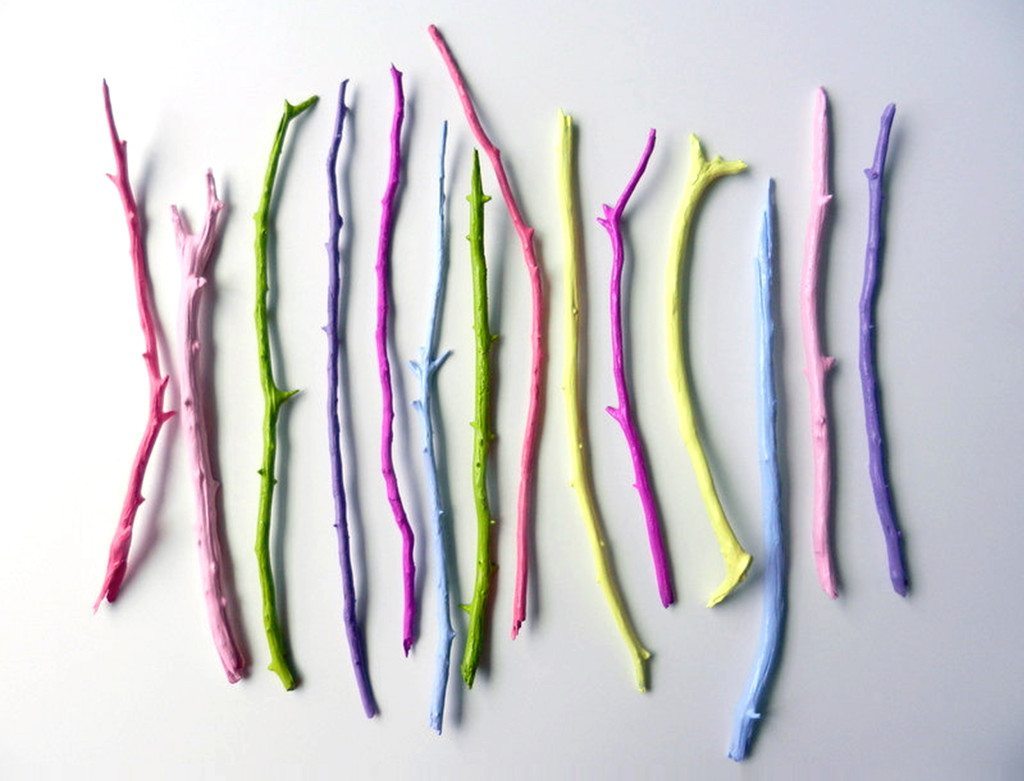
Etsy shop owner Kristin Malaer looks to nature to beautify her home for spring. She picks up fallen tree branches from the yard and paints them with vivid colors for a minimalistic addition to her decor.
“Picking the right branches are key,” she says. “Choose branches that are [dry], smooth and have no flaking bark. Also, inspect the branches. Steer clear from any that have holes—a good indication that insects are in there.”
Clean the branches with a dry cloth to remove any dirt.
Next, decide which type of paint to use. “Spray paint will make quick work of [it],” Malaer says. “Use a large drop cloth in an outside space.”
Malaer prefers to paint them by hand with acrylic paints, easily found in a rainbow of colors at your local craft store. “You can get into the nooks and crannies of the branch better,” she says, ”and I feel like you waste less paint this way.”
 Malaer suggests putting a clear coat on the branches after they dry. “Any spray acrylic
gloss enamel will do,” she says. “I have branches that I made years and years ago and they look just as good as the day they were painted.”
Display the painted branches alone in a vase, or among a flower arrangement.
Malaer has been featured in Better Homes & Gardens and DIY Magazine. To see more of Malaer’s creations, visit her Etsy shop at www.etsy.com/shop/carriageoakcottage.
Michaels (www.michaels.com), AC Moore (www.acmoore.com), JoAnn Fabrics & Crafts (www.joann.com) and Paper Source (www.papersource.com) carry most of the supplies required for these projects.
Get inspired and enjoy decorating your home DIY style!